I'm really excited for this tutorial because it's 100% genuinely mine. I didn't get this from another website or blog, I just saw the original a friend had purchased and got to work on my own. So! Enough tooting my own horn...are you ready for the tutorial??? Remember I said this was easy, in fact, it's SEW easy, you might be able to use it as an introductory piece for a child. Hooray! So let's get started.
 Step 1. Keep your fabric folded (just how it came off the bolt from the store) and measure out to 18 inches and cut. If you're using rotary scissors, remember to press down hard enough to cut through both layers of fabric.
 Step 2. Sew a straight stitch down the raw edge you just cut through.
Step 3. Turn the piece inside out (here is what it looks like.
 ) and then sew a straight stitch about 1/2 an inch from the edge.


Step 4. Here is how the piece should now look on both sides. You've basically just completed a hidden seam stitch.
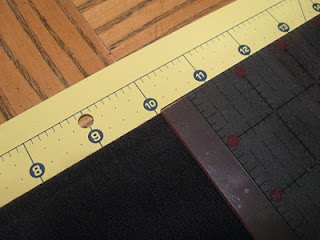
Next You'll lay your scarf out flat on a cutting board and determine how high you'd like your fringe.
 Ten inches is what feels right to me.
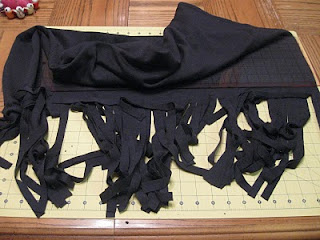
Step 5. Start cutting your fringe about 1/2'' apart
 .
.Step 6. Continue to cut across the fabric, as you near the end, be careful not to cut through your seams
 !
!Look at all that fringy goodness!

Step 7. Repeat on the other side, measure up 10 '' from the edge.
AND....
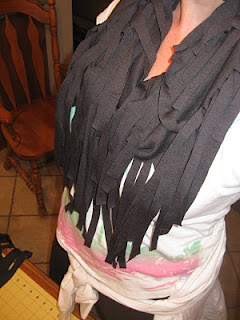
Voila!! It's so cute! From start to finish, with kid interruptions included, this took me about 30 minutes.
 Also, please disregard the work out clothes. You do what you gotta do in the time you have to do it. ;o)
See you later when we announce the winner of this little beauty.
p.s. It's not too late to enter. You've got approx. 4 more hours to leave a comment on the previous post to win this!
xoxo!
No comments:
Post a Comment